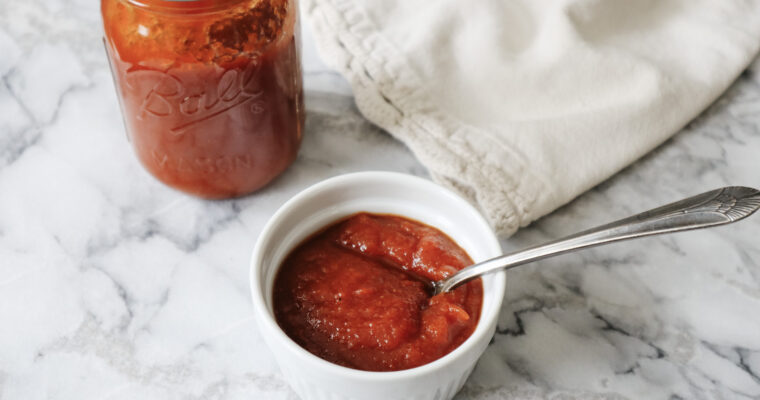
The Best Homemade Ketchup Recipe | How To Can Homemade Ketchup
Homemade ketchup is easy to make and better for you without high fructose corn syrup. Learn how to can homemade ketchup with this recipe.
Homemade ketchup is easy to make and better for you without high fructose corn syrup. Learn how to can homemade ketchup with this recipe.
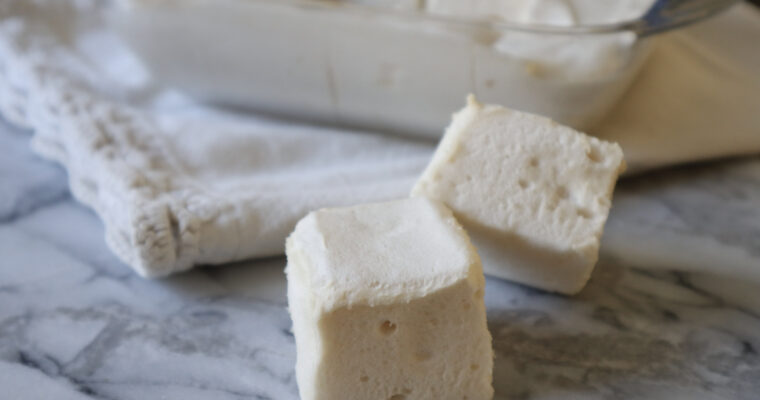
This homemade marshmallow recipe is made with egg whites for extra protein and is the perfect addition to hot chocolate or coffee. These fluffy homemade marshmallows are a healthier alternative to store bought options. Marshmallows are delicious, but most options at the store are packed…
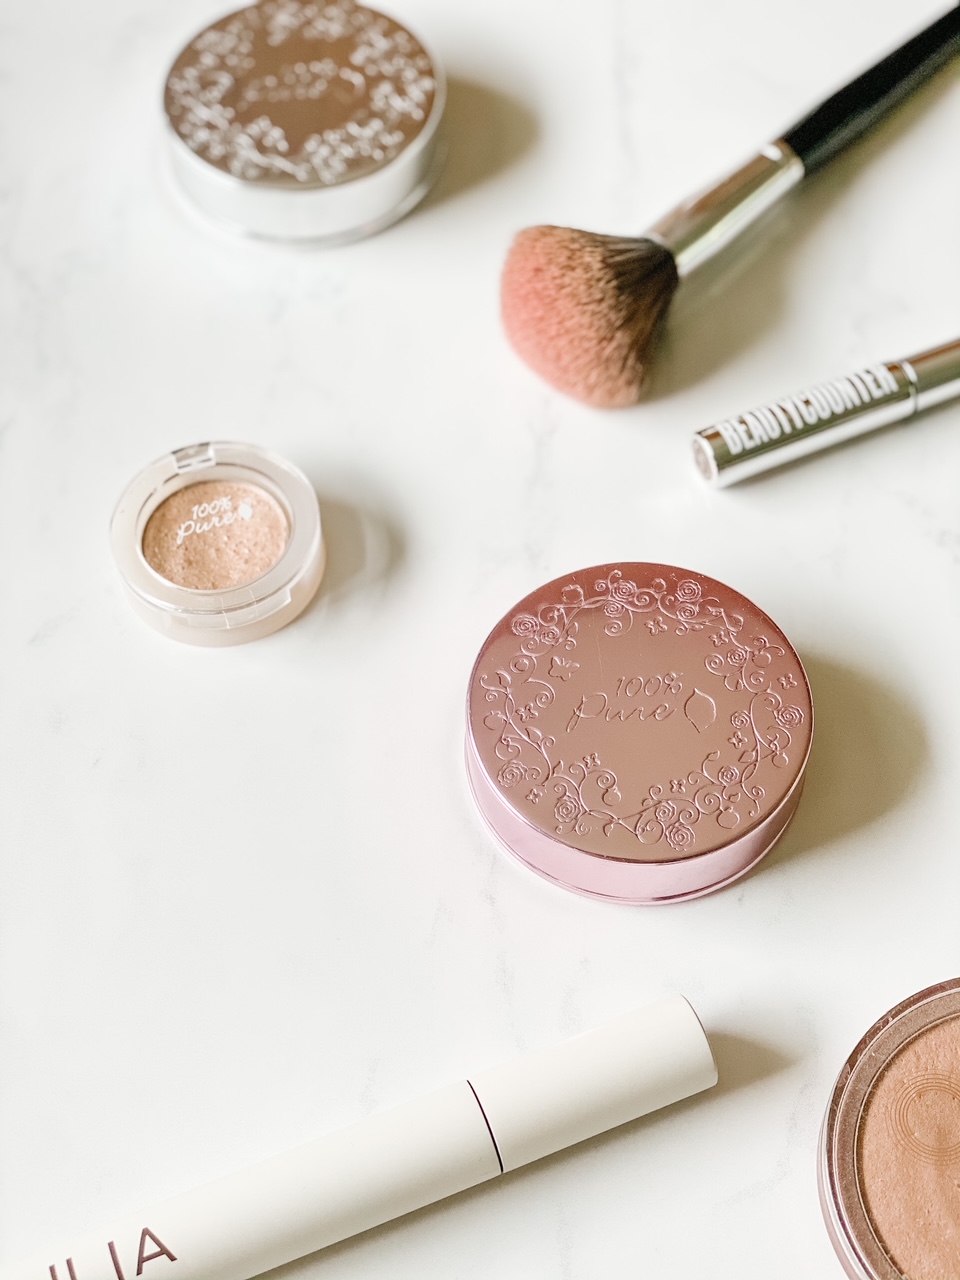
Learn how to switch to clean beauty, and why the products we use on our skin is so important. Beauty products are often filled with endocrine disruptors, known carcinogens, and other harmful chemicals that can be disruptive to our health.
This post contains affiliate links, which means I make a small commission at no extra cost to you. See my full disclosure here.
Did you know that our skin is our largest organ? As women, every day we load ourselves up with cosmetics and personal care products. Think of your daily routine. It might include washing your hair, a full skincare routine, followed by makeup, deodorant, body lotion, and maybe even perfume. That adds up to a whole lot of potential toxins if we aren’t particular about the products we are using.
It takes just 26 seconds for the toxins found in the products we apply to our skin to absorb into the bloodstream. This is why it is so important that we are conscious about the products we use on our skin. I find it very concerning that these toxic products are available on our store shelves. We are living in an age where chronic illness and disease are so prevalent, and it’s important we begin to look at why.
I am sharing my best tips to get started on your journey with clean beauty. Keep reading below!
Chances are when you flip over a product to look at the ingredient list, you are going to be a little confused on what the ingredients are and what they mean. Typically, they have long and hard to pronounce names. Below are a list of ingredients that I choose to avoid at all costs when it comes to my clean beauty routine.
Fragrance. Fragrance is also listed as perfume or parfum. It is a blanket statement for what can be thousands of chemicals. Yes, thousands. Fragrance is considered a trade secret and therefore the ingredients do not need to be listed. The chemicals that are classified under fragrance are known to be disruptive to the endocrine system, respiratory function, and even reproductive system.
Parabens. Parabens are also known endocrine disruptors, and have been linked to an increased risk of breast cancer. They are able to act similarly to estrogen and cause disruption to the reproductive system and fertility. Parabens can interfere with hormone production. Parabens are one of the most common harmful ingredients you will see on the ingredient list of your personal care products.
Phthalates. Phthalates are actually used to make plastics softer and more flexible. They are linked to an increased risk of breast cancer. They might also cause birth defects. There are many forms of phthalates, but the following are the ones you are most likely to come across. Dibutyl phthalate is often found in nail polish. Diethyl phthalate is commonly found in moisturizers. Dimethyl phthalate is often in hair spray.
Sodium Laureth/Lauryl Sulfate. This is a surfectant, meaning it helps to create lather. It is a potential irritant of the skin, lungs, and eyes. Commonly found in shampoo, body wash, face cleansers, as well as… car washing soap.
Triclosan. Triclosan is an antimicrobial chemical. It is found in many products we use on a day to day basis, like soap, shampoo, conditioner, toothpaste, shaving products and more. It’s also found in the bodies of 75% of Americans. It can be harmful to our health and the environment while providing no benefit. Triclosan is actually a pesticide and can disturb the endocrine and reproductive systems. It also has been linked to increased sensitivity to allergens.
Polyethylene Glycols/PEGs. PEGs are used as a thickener in cosmetics. Often these are found in cream based products, sunscreens, and baby products. During the manufacturing process, there is potential for contamination with ethylene oxide or 1, 4-dioxane which are thought to be carcinogenic. Ethylene oxide is thought to interfere with development as well as the nervous system.
Formaldehyde. Yes, it is a common ingredient in personal care products. Formaldehyde is a known carcinogen. It is associated with respiratory issues and is a known sensitizer, and is thought to increase the risk of asthma. It is often found in nail polish, nail polish remover, and lash adhesives.
Triethanolamine. There is strong evidence that triethanolamine is an immune, respiratory, and skin allergen. There is concern of contamination with nitrosamines which are known carcinogens. Triethanolamine is found in products ranging from moisturizer to cosmetics to sunscreen.
Propylene Glycol/Butylene Glycol. Commonly found in skincare products, these are known to cause skin irritation. These ingredients are typically found in moisturizer, shampoo, conditioner, and hair spray.
Mineral Oil. Mineral oil is commonly used in skin care, hair care and baby products. It may be found in moisturizers, foundation, and more. Mineral oil is typically used as a filler in products because it is so inexpensive. Mineral oils also impact the respiratory system and cause skin irritation.
Everyone’s situation and concern level is going to be different. Some might feel convicted to ditch and switch everything at once. However, for most, your budget might not be able to take that hit. If it does, go for it!
My best recommendation is to start by switching out your products one by one, based on what runs out first or what you use the most often. If you wear eyeliner once a month, maybe that isn’t the best thing to switch first. Something you use on a daily basis like a face cleanser or moisturizer will have a bigger impact on your health.
The clean beauty industry has come a long, long way since I switched to a clean beauty routine over 10 years ago. Back then, it was hard to find any clean products, and the ones that were available did not perform well.
One thing to be aware of when making the switch to clean beauty, is green washing. Green washing is when a company falsely makes a product look more environmentally friendly or natural than it actually is. It is hard to notice greenwashing because of the misleading marketing claims and package design. There is very little regulation on what can be placed on a label, and just because something says it is natural, doesn’t mean it actually is.
I highly recommend getting familiar with EWG Skin Deep or the Think Dirty App. These are both great resources to see how clean your products actually are.
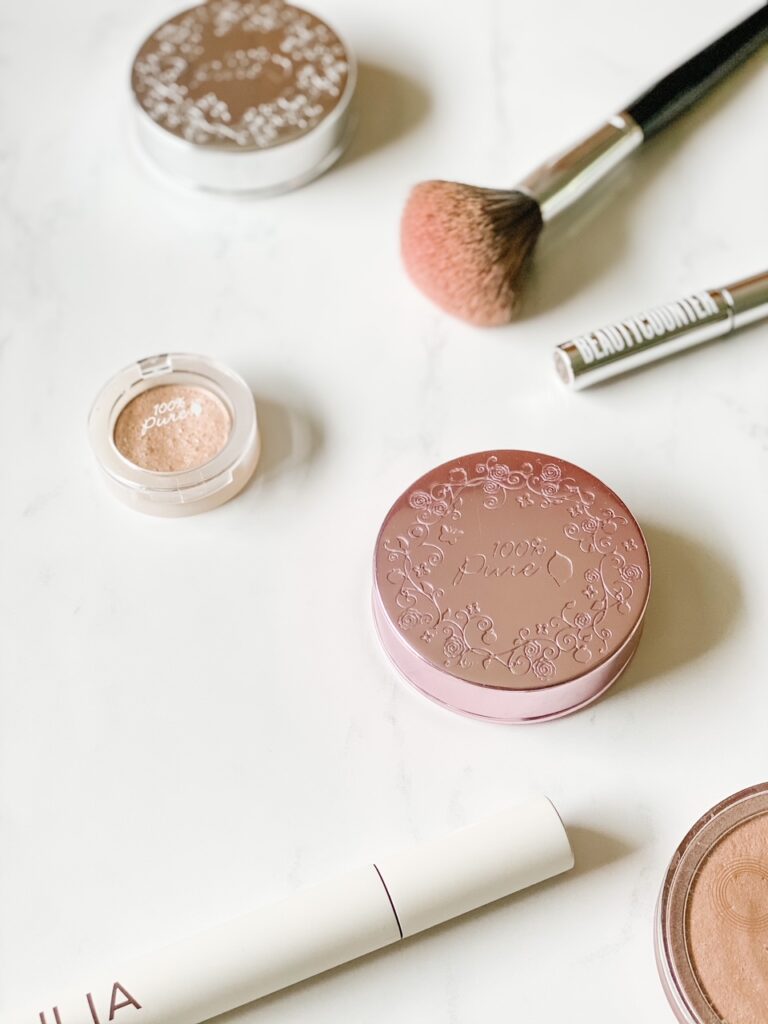
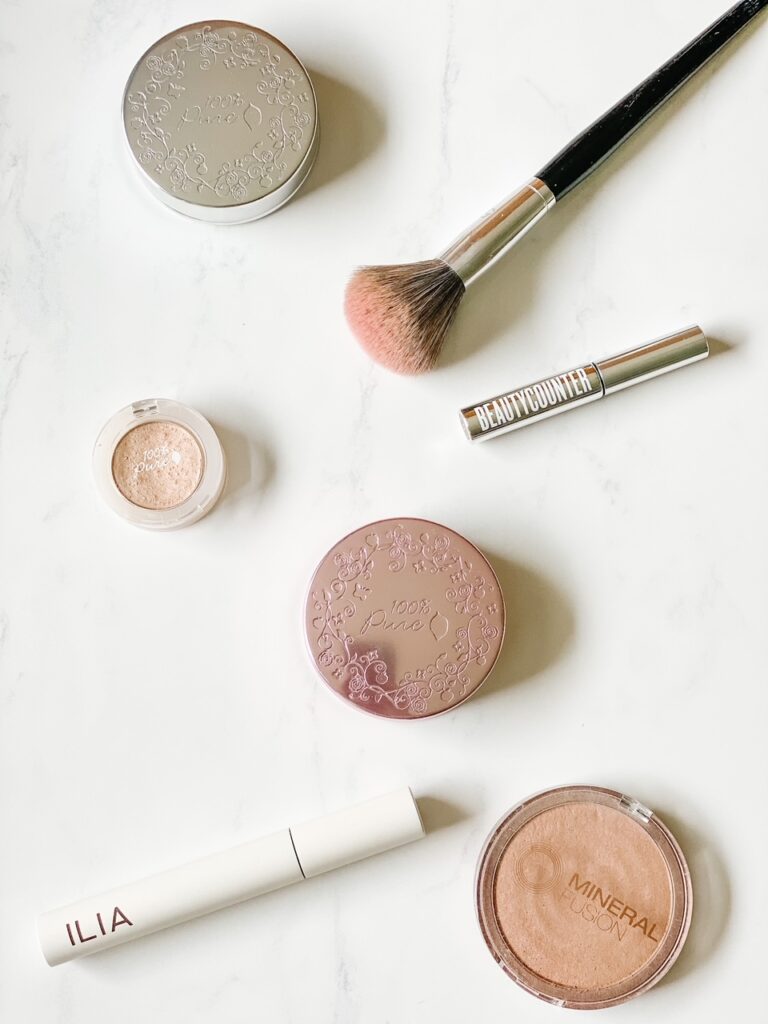
Over the years, I have tried plenty of clean beauty brands, and below are some companies that I believe to be some of the best clean beauty brands on the market. I chose to share below brands that are easy to find in a variety of stores for easy accessibility. I am sure you will love the below brans to add into your new clean beauty routine.
100% Pure. This brand formulates their products free from any and all artificial or synthetic products. Their ingredient labels are easy to dissect, and most importantly, their products perform well. Their products are cruelty free.
W3LL People. Another great clean beauty company! Free of fillers and made in the USA. Cruelty free. Their concealer is one of my very favorite clean beauty finds.
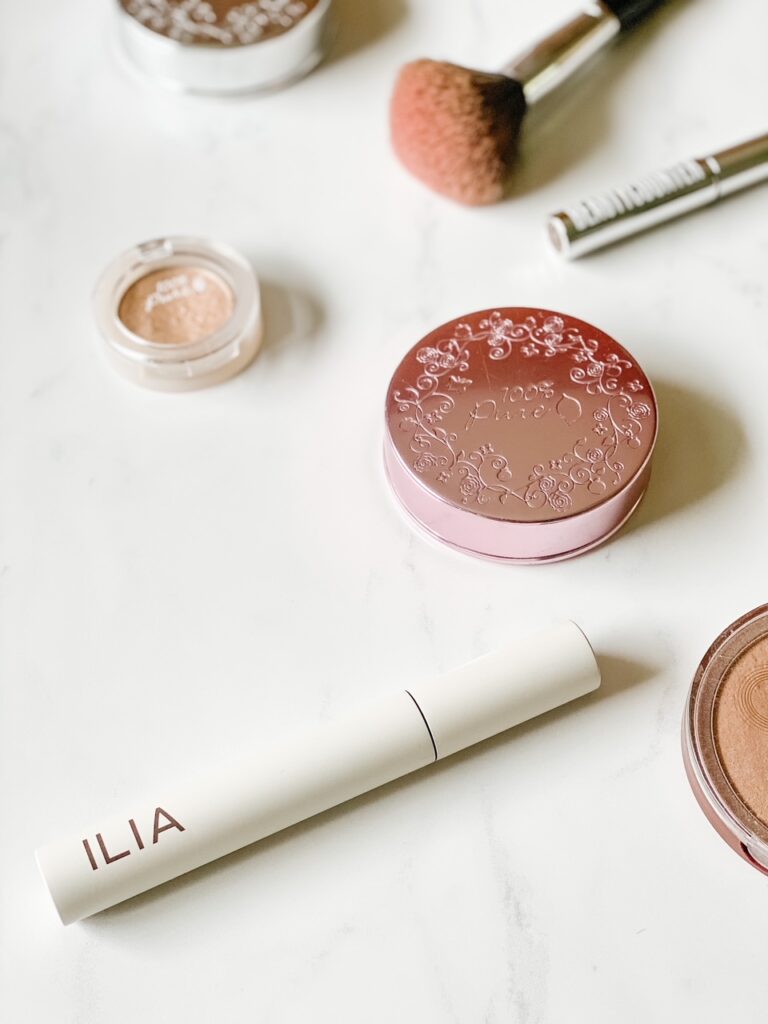
Ilia Beauty. Not only are Ilia’s products clean, but they perform so well. Their mascara is by far my favorite clean beauty option, and I have repurchased it over and over again. I also love their lipsticks. The founder of Ilia is from the city I grew up in which I love.
Pacifica Beauty. Pacifica’s products are formulated without parabens, mineral oils, sulfates, or phthalates. Cruelty free and vegan as well. In the summer Pacifica’s BB Cream is my go-to!
Mineral Fusion. This company has a wide range of products that are easy to track down. I love both their powder foundation and liquid foundation.
I hope this post helps you in your journey as you begin the switch to clean beauty products! The products we use have such an impact in our overall health. While it can be intimidating at first, there are plenty of resources available to make the transition much easier. Thankfully, the clean beauty industry has come a very long way in the past several years!
How To Make Natural Body Butter
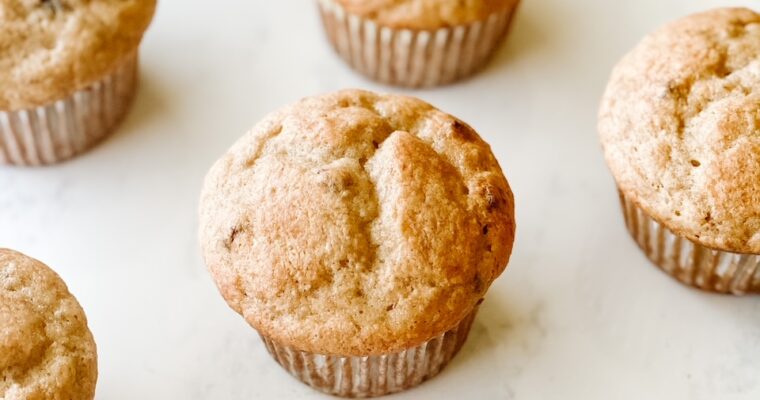
The best fluffy gluten free banana muffins made in one bowl. These oat flour muffins can easily be made into a loaf of banana bread. This recipe is naturally gluten free and will be your new go-to recipe. This post contains affiliate links, which means…
This gluten free oat flour sandwich bread recipe will be your new go-to gluten free recipe. With just a few simple ingredients you will have a loaf of bread ready to go in less than an hour. As an Amazon Associate I make a small…

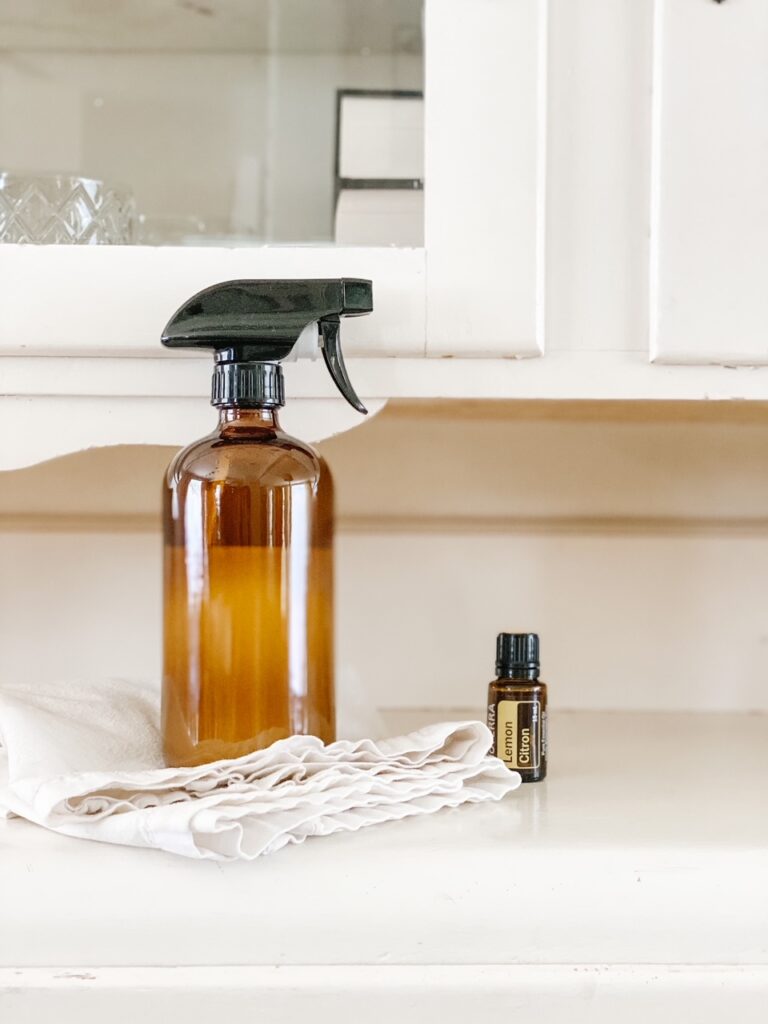
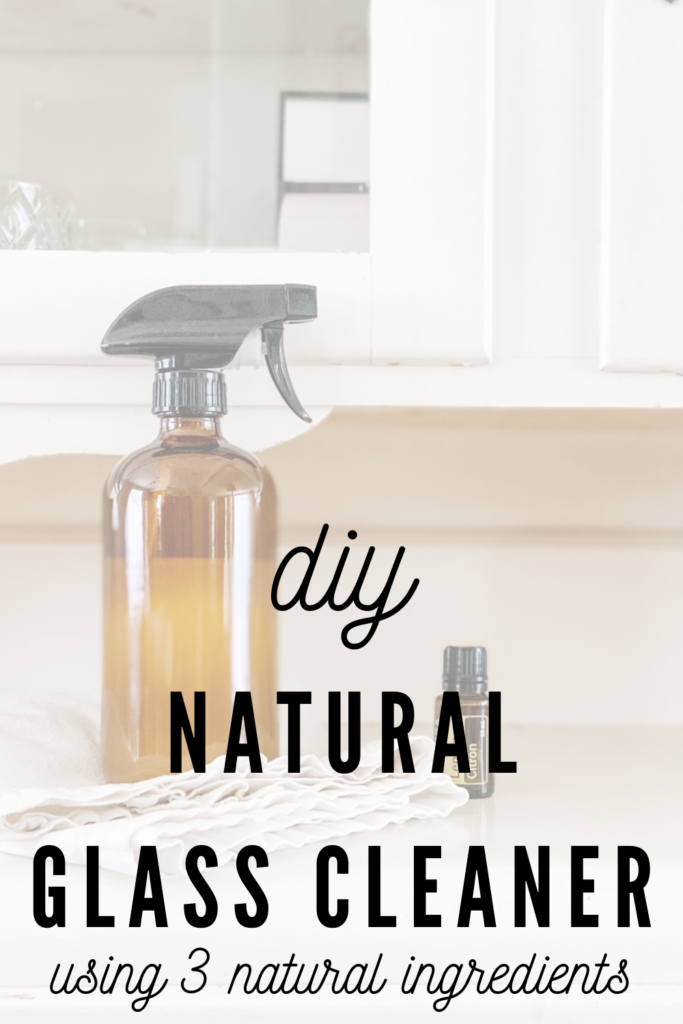
Learn how to make DIY Natural Glass Cleaner at home. Homemade, non-toxic glass cleaner recipe using only 3 ingredients.
As an Amazon Associate I make a small commission at no extra cost to you. See my full disclosure here.
Getting started with natural products in your home does not need to be expensive! In fact, it can be pretty darn cheap. If you are making your own household cleaners at home there is a good chance you will be saving a ton of money. With just a handful of natural ingredients you can make most products at home in just a few minutes for much less than you would spend at the store.
If you have vinegar on hand, you have what you need to make a basic surface cleaner or glass cleaner. At first, that was my go to when it came to cleaning any glass surfaces. Somewhere along the way several years ago, someone mentioned to me that combining vinegar, alcohol, and corn starch, yes corn starch, made for the best glass cleaner. I was skeptical at best, but after trying this recipe many years ago I never looked back. This recipe will truly leave your mirrors, windows, and other glass surfaces completely streak free and sparkling. Even better is that it is completely free of harsh chemicals that can be damaging to our health.
When I first heard of this concept, I didn’t know where exactly it originated. From what I can tell, it looks like the recipe was originally posted on Crunchy Betty. The recipe I have used for several years now has slightly different measurements, but it is exactly the same concept highlighting the use of 3 ingredients.
The three main ingredients in this glass cleaner recipe work together to give streak free, shiny results. Vinegar is a powerhouse when it comes to cutting grease. Alcohol speeds up the drying time, therefore reducing streaking. The corn starch is likely the most surprising ingredient on the list. It also helps to reduce streaking. While it isn’t essential, the addition of lemon essential oil helps to cut through any grime on your windows or mirrors for a clean finish.
To make this glass cleaner you only need a few ingredients that you likely have laying around your home! You will need the following ingredients to make this recipe.
Filtered Water
Lemon Essential Oil (optional)
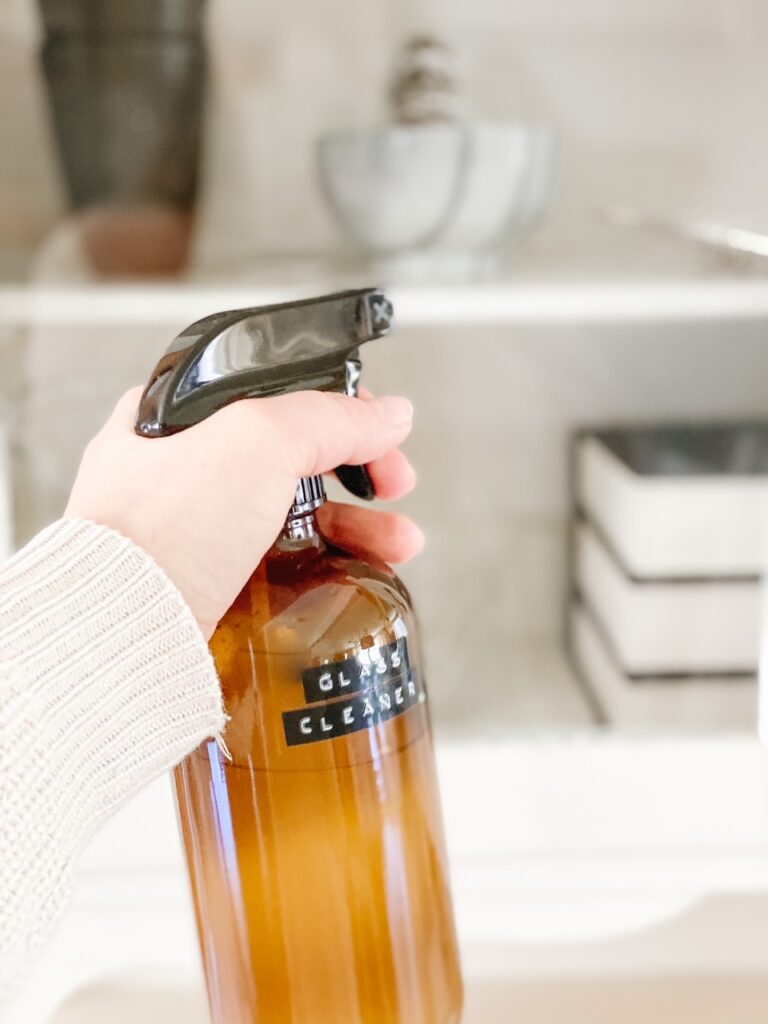
To make homemade glass cleaner, simply combine all ingredients in a spray bottle and shake it together well. While it isn’t necessary, I find that using a funnel helps to avoid making a huge mess.
Start by adding 3 tablespoons each of vinegar and rubbing alcohol to the base of the spray bottle. Next, add in 1/2 a tablespoon of corn starch. Top off with filtered water. I typically use a 16 oz spray bottle, in which case I don’t measure the water. If you are using a larger sized spray bottle, add 1 1/2 cups of filtered water for the correct ratio. Lastly, add in 10 drops of lemon essential oil if using. Secure the spray nozzle back in place and shake well before using.
The corn starch will settle between uses, just shake it well to redistribute.
The three main ingredients in this homemade glass cleaner recipe work together which is what makes it so effective.
The cornstarch and the rubbing alcohol are what provides a streak free finish. If you don’t have cornstarch on hand, I would increase the rubbing alcohol and vinegar content and omit the cornstarch. I have not tried to make a glass cleaner with just vinegar, filtered water, and corn starch, so I can’t speak to the
You can make a simple homemade glass cleaner with just vinegar, if that is all that you have on hand. Just combine half filtered water and half white vinegar in a spray bottle. Before experimenting with the 3 ingredient recipe several years ago, this vinegar based option was my go-to glass cleaning spray.
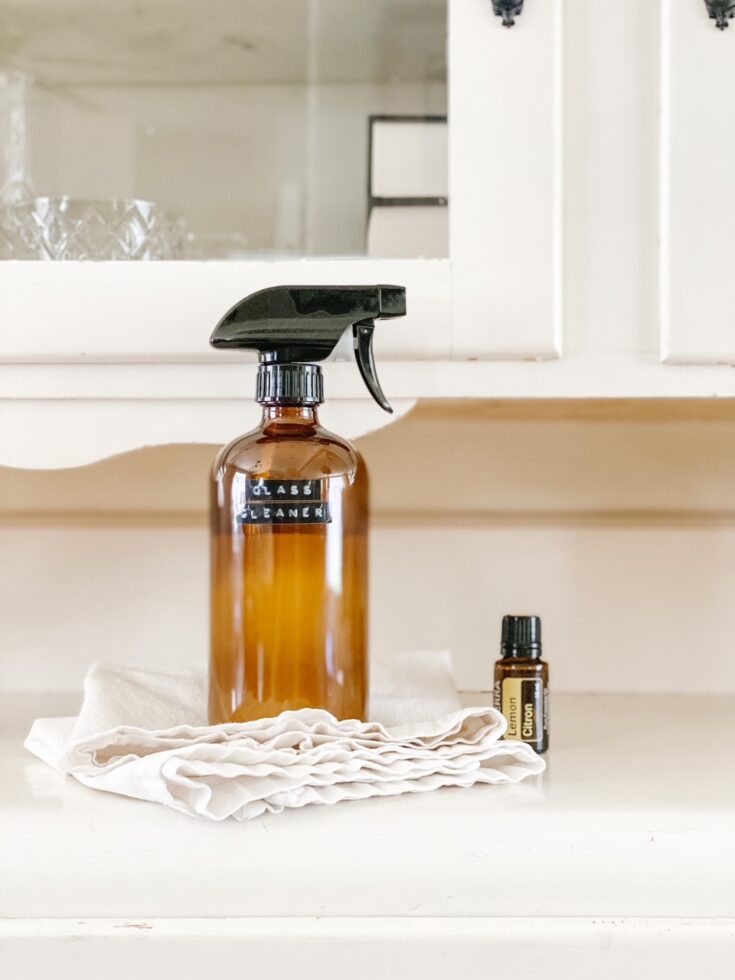
Learn how to make Toxin Free Glass Cleaner at home. Natural, non-toxic glass cleaner recipe using only 3 ingredients.
I use a 16 oz/500 ml spray bottle and typically won't measure the water. Instead I just fill it to the top. If using a larger sized spray bottle, make sure to measure the water so the ratios are correct.
Homemade Natural Laundry Detergent
Save money and eat well by using these 8 easy meal prep tips. Practical tips to help you save money and time. This post contains affiliate links, which means I make a small commission at no extra cost to you. See my full disclosure here. When…
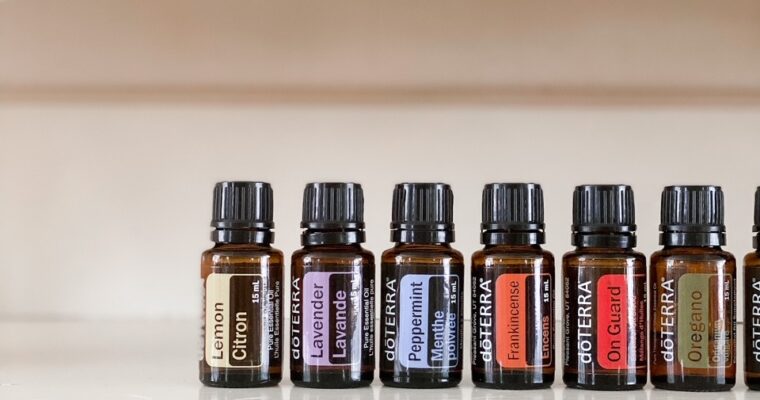
Learn 100 ways to use the top 10 essential oils. Essential oils are a great way to ditch toxins in your home and begin a natural living journey. This post contains affiliate links, which means I make a small commission at no extra cost to…

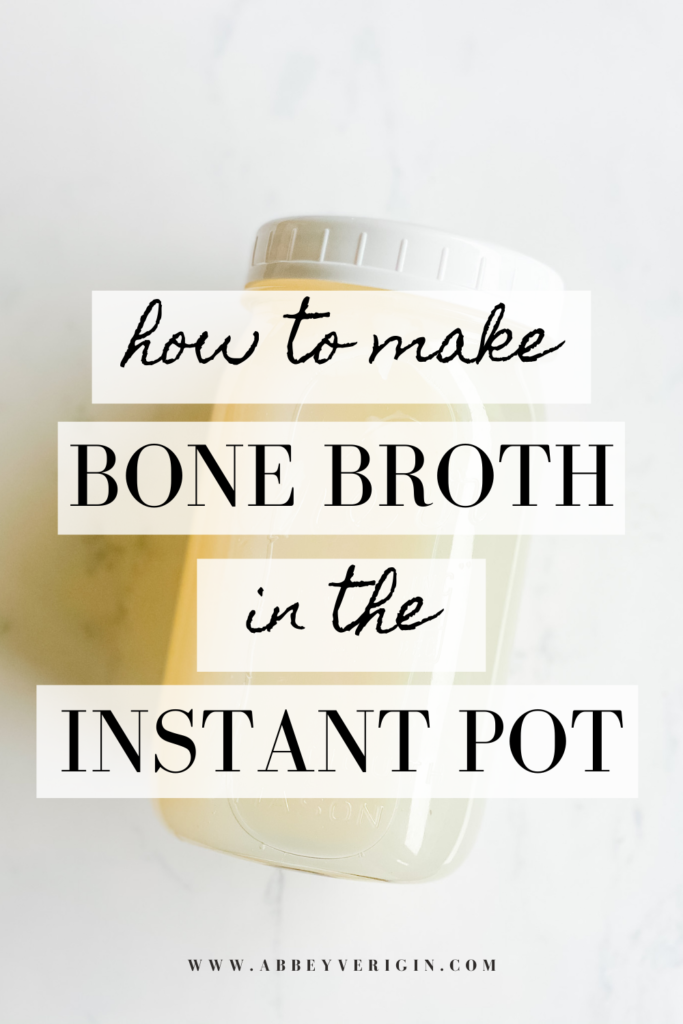
Learn how to make bone broth in the instant pot. Bone broth is nourishing, mineral rich, and packed full of gut healing benefits. It is also the perfect way to support the immune system.

This post contains affiliate links, which means I make a small commission at no extra cost to you. See my full disclosure here.
Bone broth is a staple in our diet, and I am always looking for ways to add it to my cooking. We of course add it to soups, but I also cook rice in bone broth. I even have an amazing bone broth hot chocolate recipe I use it with – I promise it’s not as scary as it sounds.
Like a lot of things that are good, it takes time to make. Making bone broth on the stove top or in a crockpot requires simmering for at least 24 hours. While it is well worth the wait, sometimes I want all of the benefits of bone broth, but much quicker. It was the main reason I have wanted to purchase an instant pot for so long! For a long time pressure cookers have scared me a bit which is why I held off, however, it has proved to be well worth it.
Bone broth is rich in amino acids glycine, proline, and glutamic acid. Glutamic acid converts to glutamine in the body. Glutamine is well recognized for how supportive it is in healing leaky gut. Most of us typically consume muscle meats rather than eating nose to tail, and muscle meats are not a great source of these incredible amino acids.
The boxes of broth you find in grocery store shelves of course do not have the benefits of bone broth. That broth is produced with profit in mind, not your health. If you’re looking to get the gut healing and immune supporting benefits of bone broth, your best bet is homemade. There are some good brands of bone broth on the market, however in my experience most do not gel, and they are expensive.
The reason good quality bone broth becomes solid when cooled is because of it’s high gelatin content. This is due to simmering for a long period of time – or a much shorter period of time, when using a pressure cooker.
If you find your bone broth is consistently not gelling, there are a few things to consider.
What I love about making bone broth in a pressure cooker is that it takes much less time. I can have a batch done in about 5 hours total rather than a minimum of 24 hours. I also find that by using a pressure cooker I get more consistent results when it comes to my bone broth gelling.
To make bone broth without a pressure cooker, you don’t need much – just more time. You can make bone broth at home on the stove top or in a slow cooker.
To make bone broth on the stove, simply add bones to a large pot, cover with filtered water, and add a splash of apple cider vinegar. Bring to a boil, then reduce to a simmer and cover. Allow to simmer at least 24 hours, up to 72.
To make bone broth in a crockpot, add bones, cover with filtered water, and add a splash of apple cider vinegar. Turn the slow cooker on high until the mixture simmers, then switch it over to the low setting. Strain after at least 24 hours.
The reason it is recommended to add apple cider vinegar when making bone broth is because it helps to pull collagen from the connective tissues. Some say it will also help to extract minerals from the bones, but there is some debate on whether that is true or not. I specifically add it to make sure I’m producing a gelatin rich broth. If it helps pull the minerals from the bones as well, that is an added bonus!
Start by adding the bones to the bowl of the instant pot. I fill mine about 2/3 of the way full. If using chicken bones, that is usually two leftover carcasses that I have kept in the freezer.
Cover the bones with filtered water.
Add a splash of apple cider vinegar.
Secure the lid of the instant pot and flip the pressure release valve to sealing.
Set the instant pot to manual, low pressure, and then 240 minutes or 4 hours. Turn off the warm function, unless you do want your broth to stay warm after the cycle finishes.
Once the cycle is complete, allow for a natural release. This will likely take an hour.
Strain the broth through a fine mesh strainer. Transfer to glass mason jars once the broth has cooled.
A layer of fat will form on top of the broth. As it cools, this will become solid. If that layer is left in tact your broth will stay good for weeks in the fridge. Once that fat seal is broken, you will want to use it up within a few days.
Learn how to make bone broth in the instant pot. Bone broth is nourishing, mineral rich, and packed full of gut healing benefits. It is also the perfect way to support the immune system.
Chicken Noodle Soup Made With Bone Broth
Creamy Chicken And Rice Chili Soup
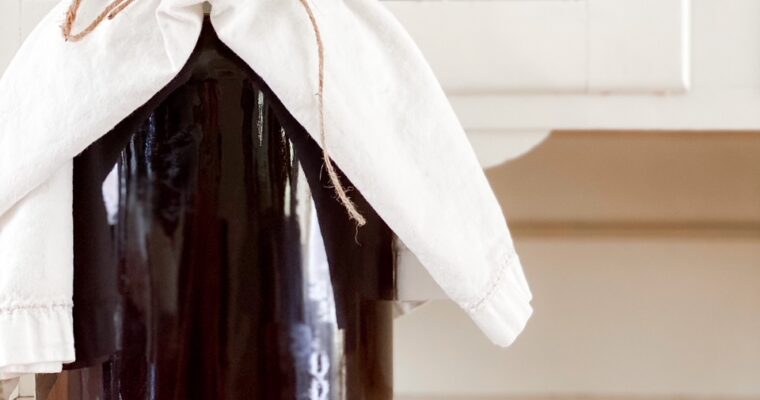
Learn how to make kombucha at home. Kombucha is a lightly sweet and carbonated fermented beverage, packed full of probiotics. Black tea, sugar, a SCOBY and kombucha starter is all you need to begin brewing kombucha at home. This post contains affiliate links, which means…